Optimize Ansys Mechanical Workbench with the Latest Element Selections
The release of the latest Ansys Mechanical Workbench offers new element selection options.
Selections can be accomplished via picking in the graphics window, or through creation of elemental named selections. For elemental named selections, in addition to direct graphical selection, a variety of criteria can be applied in order to generate the selection, including location, element volume/area, mesh metric, other named selections, and even conversion to/from nodal selections (NSLE, ESLN). After generation, elemental named selections can be exported to text or Excel files through a right-mouse-click. All selections are also written to the ds.dat file after solving as components.
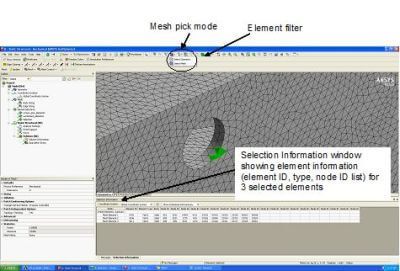
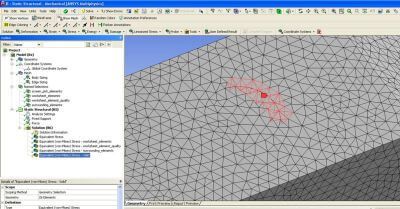
For graphics window selections, element information including element ID, element type, and node ID is immediately displayed in the Selection Information window (ELIST functionality).
There are also several different viewing options for the new element selections, achieved by toggling Wireframe mode and Show Mesh mode on and off.
Following are examples of several of these new element selection options.
Graphics Window Selection
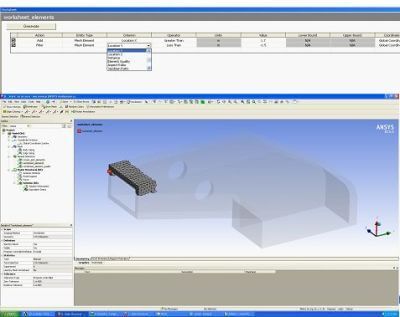
Elemental Named Selections Using Worksheet Option: By Location
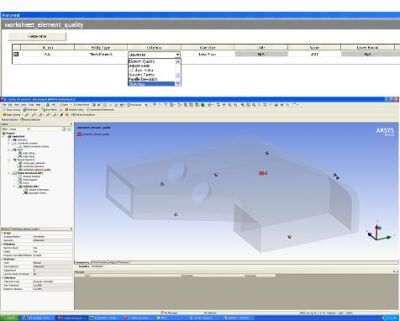
Utilizing Mesh Metric to Select Elements of Poor Quality
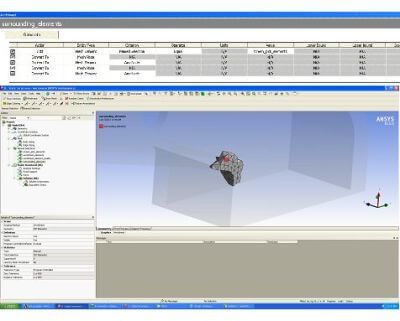
Using “Convert to” Criteria to Select the Surrounding Elements of 8 Base Elements (NSLE, ESLN)
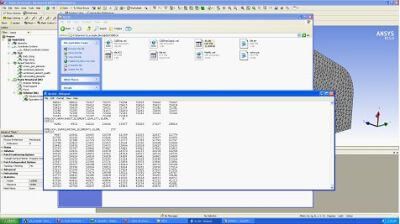
Elemental Named Selections Written to ds.dat File
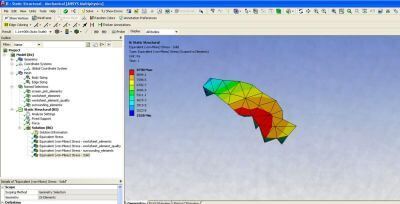
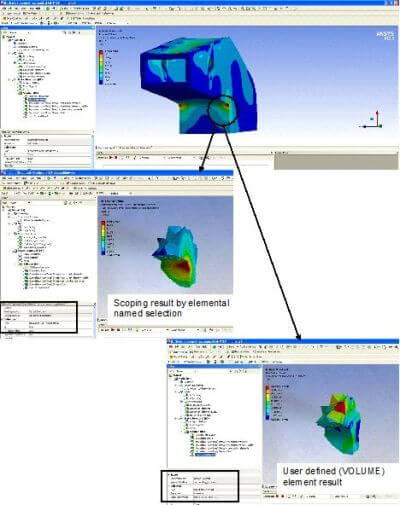
Mechanicals latest updates also offers new options related to results scoping. Both regular and user defined results can now be scoped to elements, either directly using graphically selected elements or through elemental named selections.
Scoping Stress Results to Graphically Selected Elements
Stress Result, User Defined Result Scoped to Elemental Named Selection
More on Ansys Mechanical’s Named Selection Features
You can generate named selections using the Named Selection feature, which can then be imported into the ANSYS Mechanical application or used to develop specific features. Any combination of 3D entities, including point feature points, can be chosen (PF points). In the Details View of ANSYS DesignModeler, the Geometry Apply/Cancel property is where selections are made.
In ANSYS® Mechanical analyses, named selections play a critical role. In ANSYS® Mechanical, ANSYS Fluent, etc., you can declare your named selections on geometry and use them in subsequent boundary condition definitions. It is a very helpful tool for defining boundary conditions in different ANSYS® interfaces.
Named Geometric Selection
Because it is not very evident that it exists, the majority of people are unaware of this feature. If you don’t click on the Model top branch of your tree, the Named Selections Icon in the toolbar won’t even appear if there are no Named Selections in your model.
The “Create Named Selection” tab should be selected
When using ANSYS® geometries, right-click on the model subtab as indicated by the red arrow above, and then select “Create Named Selection” from the menu that appears.
Enter your named selection here
After clicking “Create Named Selection,” enter the name of your Named Selection. Give your name a definition that takes into account the boundary condition that will be specified in this named selection.
For instance, we told this “wall” that it will be used in CFD, etc.
The default selection is the entire body.
We have chosen the entire body of geometry in our named selection. In ANSYS® Mechanical, choose your own geometric features such as edges, faces, shells, and vertexes according on your boundary conditions.
As you can see, using geometrical selection, named selection is a pretty straightforward procedure. The creation of named choices for nodes, faces, and vertices is nevertheless possible without clicking! To accomplish this, abandon geometry and switch to the worksheet.
Named Selection Using a Worksheet in Ansys Mechanical
Simply click the NS icon on a worksheet to make a named selection. As a result, the branch gains a Named selection Branch and a Named selection. You can notice that the Scoping Method is by default set to Geometry Selection if you look at the details View for the Named selection. When you click on the Geometry Selection, a drop-down menu appears with the option to use the Worksheet. Select that option.
Worksheet should now be a new tab in your graphics window, and it should have a table and a Generate button. A scroll bar will be at the bottom and cover that blank row if the table is too small to display the entire thing. Relax; that is what it is intended to do.
This device is quite ingenious. To the table, you basically add rows that affect geometry from top to bottom. You only need one line in many situations. However, with more complex options, you can really stack them up and make things more difficult. Following execution, the contents of the row determine what is in the active set. The named selection contains the final active set.
- To enroll in an ANSYS Named Selection course, click HERE.

