What Is Sintering and How Does It Work?
Sintering is an additive manufacturing process that allows engineers and manufacturers to create complex shapes with high accuracy and precision. The process can be summarized in three primary steps:
- Acquiring the appropriate powdered material. A binding agent might be added to this material. The powder, binder, and other additives are then mixed together.
- Compaction. The mixture is compressed inside a die or mold. This results in a green part.
- Sintering: The part is then placed inside a furnace to fuse the particles together. The oven temperatures are below the metal’s melting point, but the particles will fuse together to form a solid part ready for post-processing.
Challenges in the Sintering Process
There are some challenges we can run into when sintering parts. The part might have high porosity. As the metal fuses together, the part might be distorted in unwanted ways. Sintering can also take a significant time and may require complex temperature cycles.
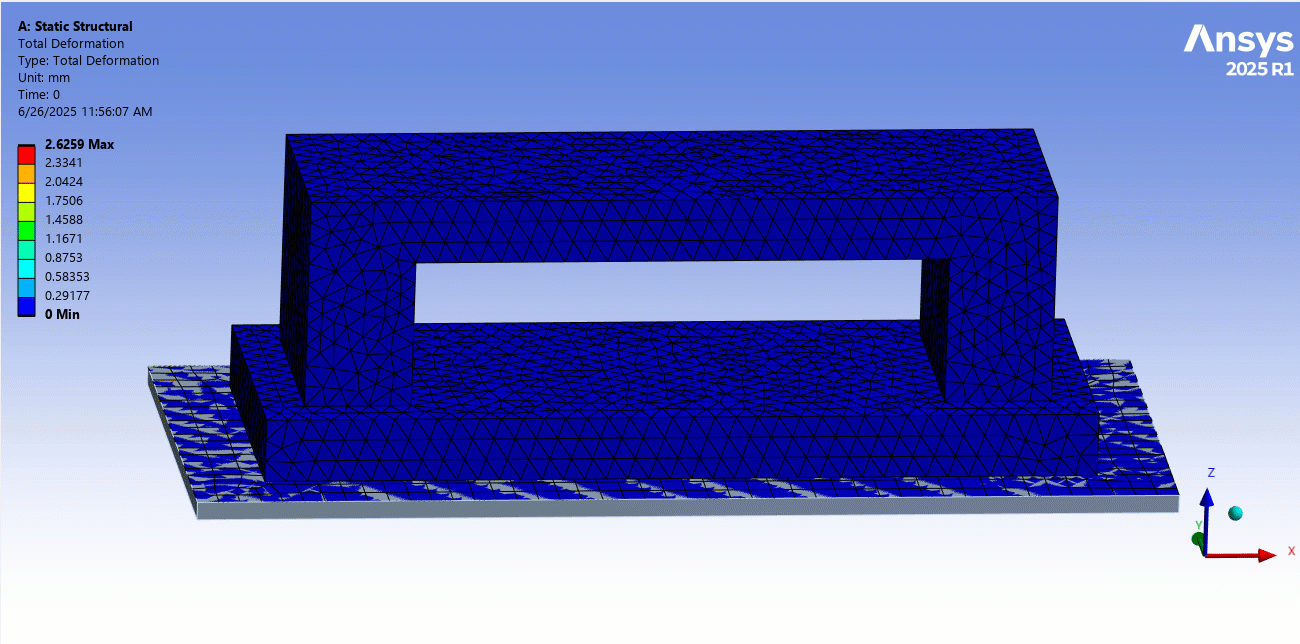
Simulating Sintering with the Ansys Mechanical Additive Manufacturing Suite
Using the Additive Manufacturing suite with Ansys Mechanical, we can simulate the sintering process. This will help reduce the trial-and-error required to manufacture parts within specified tolerances.
The sintering add-on simplifies defining a sintering simulation.
Using the Sintering Wizard and Add-on
The sintering addon in mechanical includes a sintering wizard that allows engineers to quickly and easily set up sintering simulations. We can set up models using the sintering wizard. As we work through the model tree, it populates the project tree with specific sintering-related objects. After completing the wizard, we can still make changes by modifying the settings of objects in the model tree.
We can also set up the entire simulation through the project tree. The workflow is listed as follows:
- Create a static structural system in the workbench
- Define engineering data, define an isotropic elastic model with the Young’s modulus and Poisson’s Ratio. Also include the isotropic thermal expansion coefficient.
- Import the geometry with the baseplate and launch Mechanical. Specify the baseplate as a rigid body.
- Load the Sintering process addon within Mechanical
- Insert the Sinter Material object and specify the required parameters in the details tab
- Generate a mesh with your preferred mesh settings.
- Define contacts. There is usually some sliding between the baseplate and the part. A friction coefficient might need to be defined using a Frictional contact. We also recommend these contact settings:
- Small Sliding – Off
- Update Stiffness – (Each Iteration Aggressive)
- Insert the Sinter Schedule Object and define the Sinter Schedule. This automatically updates the load steps and end times in Analysis settings.
- Set structural Analysis Settings. Recommended settings are:
- Large Deflection = Yes
- Quasi-Static Solution = Yes
- Auto Time Stepping = Yes
- Apply a fixed body-to-ground joint to the bottom of the baseplate. Also, apply a standard Earth gravity.
- Solve the model and review the results.
Getting Started with Sintering Simulation in Ansys Mechanical
The sintering addon in Ansys Mechanical provides an easy-to-use approach to simulating the sintering process. It will provide insights into the part’s behavior during the sintering process and help you save time, money, and material.
Need help with sintering simulation or additive manufacturing workflows? SimuTech Group’s FEA consulting engineers can help you set up and validate sintering simulations in Ansys Mechanical. For more on Ansys Mechanical’s structural analysis capabilities, explore our FEA software overview. Contact us to discuss your additive manufacturing simulation needs.